
What Hip Misalignment Actually Is
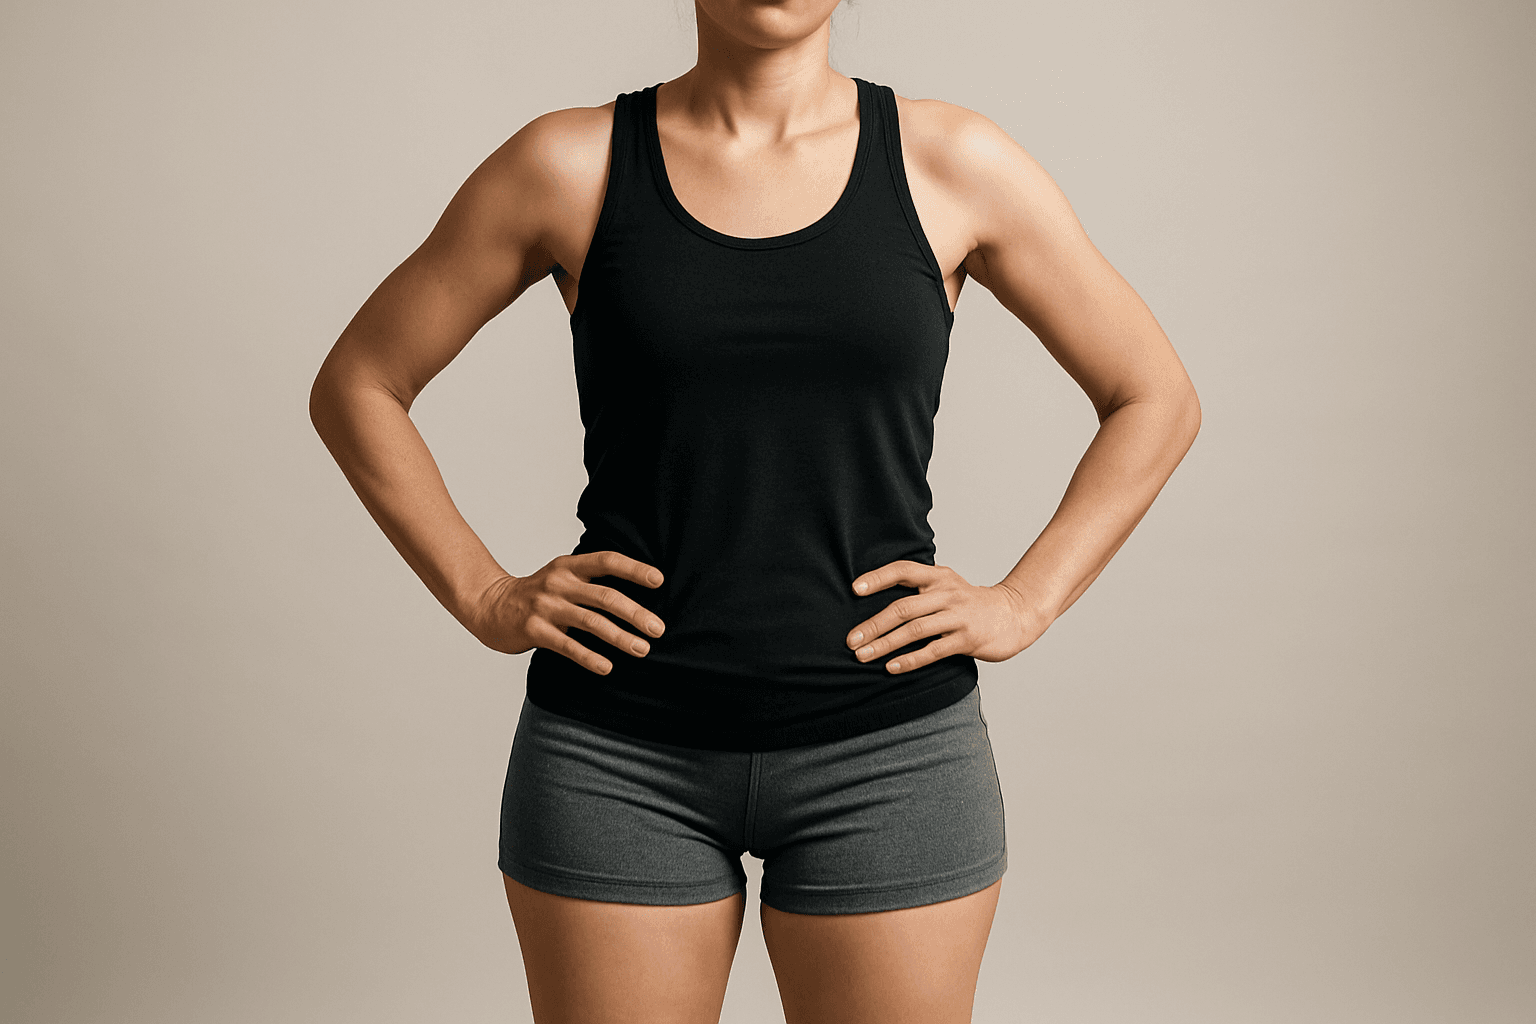
When we talk about hip alignment, we are talking about the position of the pelvis. The pelvis is a single bony structure, and its position in space determines how everything above (your spine) and everything below (your legs) functions. When the pelvis shifts out of its neutral position, the body compensates in predictable ways - and those compensations are where your pain lives.
Hip misalignment is not one thing. It takes several forms, and understanding which type you have determines which corrective approach works.
Lateral Pelvic Tilt
This is when one hip sits higher than the other. Looking from the front, the pelvis is tilted to one side like a seesaw. This creates the appearance of one leg being shorter than the other (functional leg length discrepancy), compresses the lower back on the high side, and forces the spine into a lateral curve to keep your head centered over your feet.
Pelvic Rotation
This is when one hip sits forward of the other. Looking from above (if you could), the pelvis is rotated like a steering wheel. One hip pushes forward while the other pulls back. This creates asymmetric loading through the legs, often resulting in one-sided knee pain, SI joint pain, or hip pain.
Anterior and Posterior Pelvic Tilt
These are front-to-back tilts of the pelvis. Anterior pelvic tilt tips the front of the pelvis down, creating an exaggerated low back curve. Posterior tilt tips the front up, flattening the lower back. Both change how the hip joints sit in their sockets and alter the loading pattern of the entire lower body.
Most people with hip alignment problems have a combination of these patterns. One hip high and rotated forward is extremely common.
What Causes Hip Misalignment
The pelvis is held in position by the muscles that attach to it, and there are a lot of them. When those muscles are imbalanced - tight on one side, weak on the other, or switched off entirely - they pull the pelvis out of neutral and hold it there.
Sitting Patterns
This is the number one cause. When you sit, you almost certainly favor one side. You cross the same leg, lean to the same side, or shift your weight onto the same hip. Do this for hours a day across years, and the muscles on one side of the pelvis shorten while the muscles on the other side lengthen and weaken. The pelvis follows.
One-Sided Sports and Activities
Any sport or activity that loads one side more than the other creates asymmetric muscle development around the pelvis. Golf, tennis, baseball, skateboarding, and even running (if you always run the same route and turn the same direction) can create lateral or rotational hip imbalances over time.
Compensation for Injuries
An old ankle sprain, a knee injury, or even a period of limping creates a compensation pattern. The body shifts weight off the injured side, and the muscles around the pelvis adapt to that shifted pattern. Long after the original injury heals, the pelvic compensation remains locked in.
Standing Habits
Standing on one leg, always leaning to the same side, carrying a bag on the same shoulder, holding a child on the same hip - these habitual patterns load the pelvis asymmetrically. The quadratus lumborum on the weight-bearing side shortens, hiking that hip up over time.
Symptoms of Hip Misalignment
Hip misalignment produces a wide range of symptoms, many of which seem unrelated to the hips. This is why it goes undiagnosed or misdiagnosed so often.
Direct Hip Symptoms
- Pain on the outside of one hip (often diagnosed as bursitis or IT band syndrome)
- Stiffness when standing after sitting
- A feeling of one hip being "stuck" or "jammed"
- Groin pain on one side
- Clicking or popping in one hip
Downstream Symptoms (Below the Hips)
- One-sided knee pain, especially on the inner side
- Foot pronation (flat arch) worse on one side
- Asymmetric shoe wear
- IT band tightness on one side
- Shin splints or plantar fasciitis worse on one side
Upstream Symptoms (Above the Hips)
- One-sided lower back pain
- SI joint pain
- A visible lateral curve of the spine (functional scoliosis)
- One shoulder sitting higher than the other
- Neck pain and tension headaches on one side
The pattern is consistent: when the foundation (pelvis) is shifted, everything built on top of it compensates. Treating the knee, the back, or the neck without addressing the pelvic position is chasing a symptom while the cause remains untouched.
Free - 60 seconds
Not sure which program you need?
Take the free posture quiz and get a personalized recommendation based on your pain and goals.
How to Self-Assess Your Hip Alignment
You can check your own hip alignment at home with three simple tests. You do not need imaging or a professional assessment to identify the major patterns.
The Mirror Test
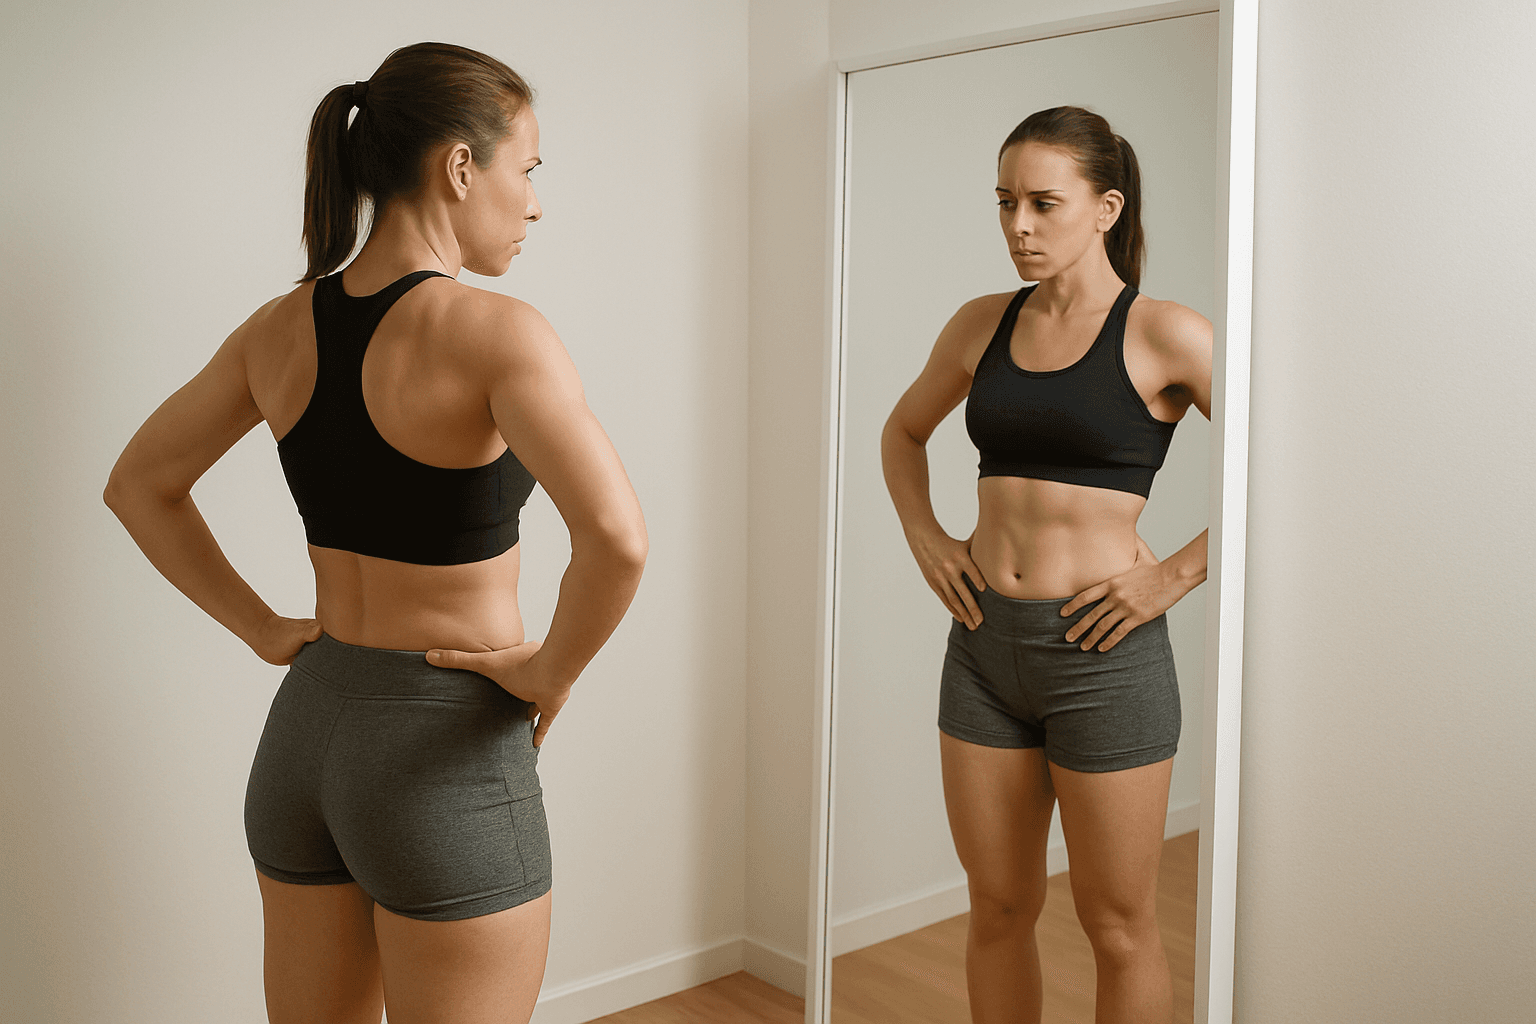
Stand in front of a full-length mirror wearing shorts or fitted clothing. Place your fingertips on the top of both hip bones (the bony points at the front of your pelvis, called the ASIS). Compare the height of your hands. If one is noticeably higher, you have a lateral pelvic tilt.
The Pants Test
Look at where your waistband sits. If it consistently rides higher on one side or your belt buckle sits off-center, your pelvis is tilted.
The Lie-Down Test
Lie flat on your back on a firm surface. Have someone stand at your feet and compare the position of your ankle bones. If one foot appears to extend further than the other, or if one foot flares out more to the side, there is a rotational or lateral pelvic asymmetry.
These tests are not lab-grade precise, but they reliably identify meaningful misalignment. If all three point in the same direction, you can be confident the pattern is real.
Why Stretching Alone Does Not Fix Hip Alignment
This is the most important thing to understand about hip alignment: the misalignment is not caused by one tight muscle. It is caused by a pattern of multiple muscles that are either too tight, too weak, or neurologically switched off.
Stretching the tight side feels good temporarily. The stretch reduces tension for minutes to hours. But the tight muscles are tight for a reason - they are compensating for weak or inhibited muscles on the other side of the joint. Until those weak muscles are reactivated and strengthened, the tight muscles will return to their shortened position because the body needs them there for stability.
This is why people stretch their hip flexors for years without ever resolving anterior pelvic tilt. The hip flexors are tight because the glutes are switched off. The body tightens the hip flexors to stabilize the pelvis in the absence of glute function. Stretch the hip flexor without activating the glute, and the hip flexor simply tightens back up.
The corrective approach must address both sides: release what is tight and activate what is weak, in the right sequence.
The Corrective Exercise Approach
Correcting hip alignment follows a specific sequence. The order matters because each step creates the conditions for the next step to work.
Step 1 - Reset the Pelvis to Neutral
Before you can strengthen anything, the pelvis needs to be in a position where the right muscles can activate. Lying positions accomplish this because they remove gravity's compressive and tilting forces.
Static Back - Lie on your back with your calves resting on a chair, hips and knees at 90 degrees. Stay here for five minutes. This position deactivates the hip flexors that are pulling the pelvis forward and allows the pelvis to settle toward neutral under its own weight.
Supine Pelvic Tilts - From the static back position, gently flatten your lower back into the floor by engaging your lower abdominals, then release. Repeat 10 times. This begins to re-engage the deep core stabilizers that control pelvic position.
Step 2 - Release the Tight Side
Once the pelvis is closer to neutral, target the specific muscles that are holding the misalignment.
Supine Hip Crossover Stretch - Lying on your back, cross one ankle over the opposite knee and let the top knee fall outward. This targets the piriformis and deep hip rotators on the tight side. Hold 60 seconds each side, spending extra time on the tighter side.
Standing Quadratus Lumborum Stretch - Stand with feet hip-width apart, raise one arm overhead, and side-bend away from the high hip. This lengthens the quadratus lumborum on the side where the hip is hiked. Hold 30 seconds, repeat twice on the high side.
Step 3 - Activate the Weak Side
This is the step most people skip, and it is the reason their stretching never produces lasting change.
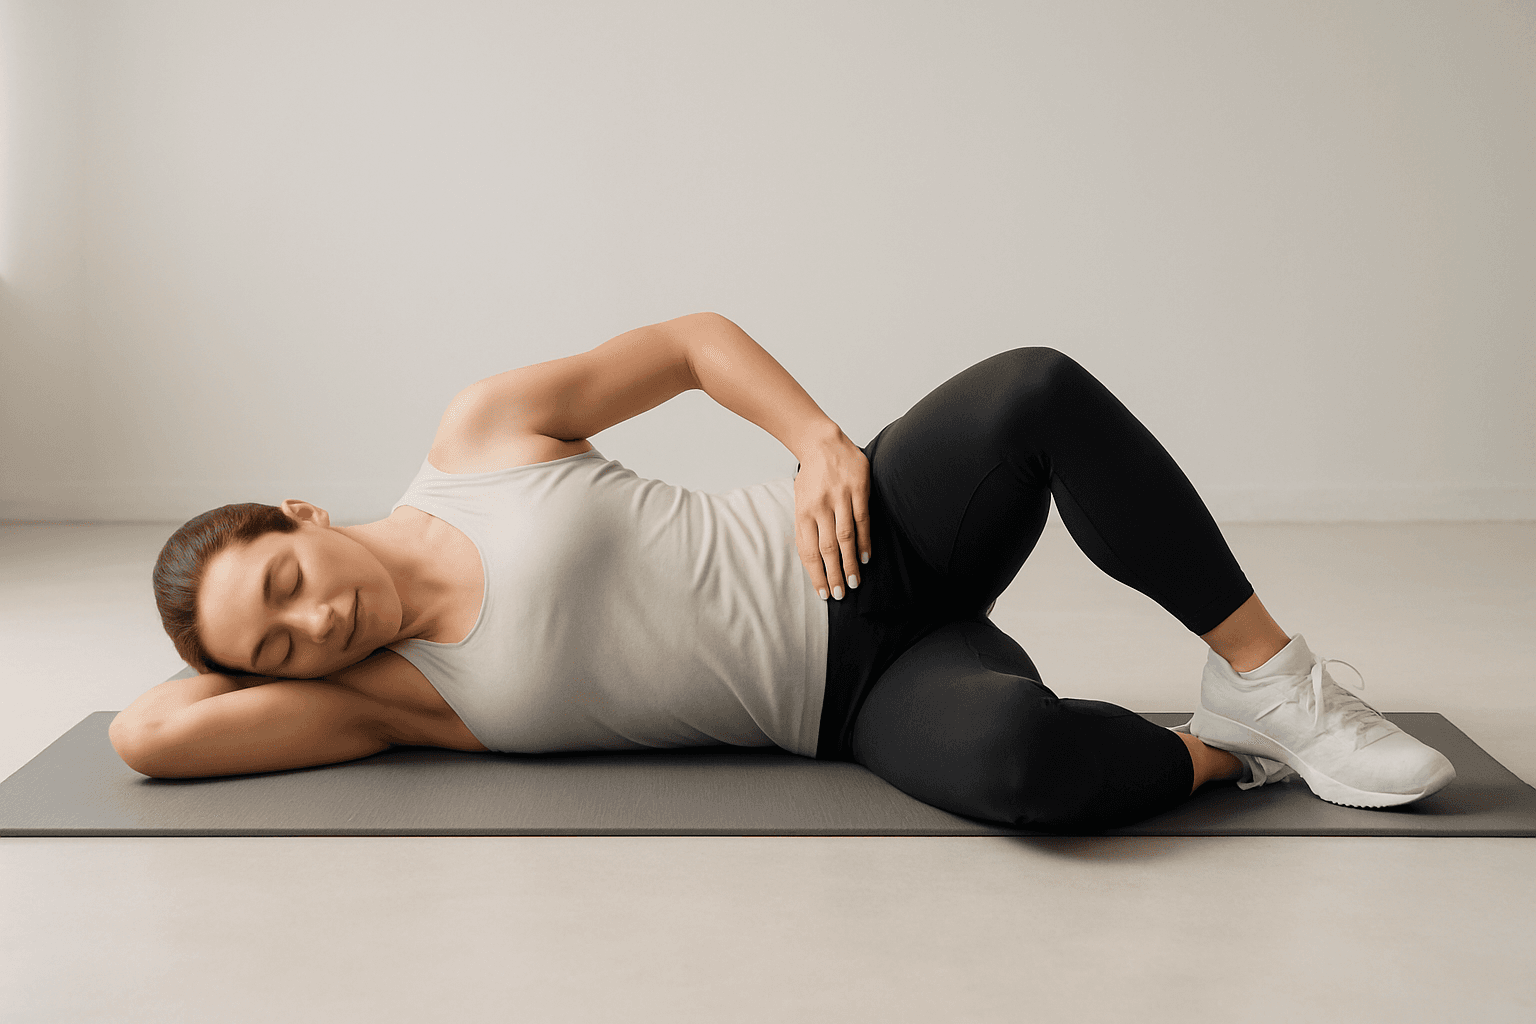
Side-Lying Clamshells - Lie on the side of your weak hip (the side that drops or the side with less glute engagement). Knees bent at 45 degrees, feet together, rotate the top knee upward without rolling the pelvis back. This targets the gluteus medius, the primary hip stabilizer. Do 15 to 20 reps, focusing on feeling the muscle on the side of the hip fire. Compare sides - the weaker side will fatigue faster.
Single-Leg Glute Bridges - Lie on your back, one foot flat, the other leg extended straight. Drive through the grounded heel to lift the hips. Focus on keeping the pelvis level rather than letting it drop to the unsupported side. This targets gluteus maximus and medius on the working leg. Do 10 to 12 reps each side, noting the asymmetry.
Standing Hip Hikes - Stand on a step with one foot on the edge and the other foot hanging off the side. Let the hanging hip drop below the step, then use the standing-side glute medius to hike the hanging hip back to level. This is one of the most effective exercises for retraining the lateral pelvic stabilizers. Do 15 reps each side.
Step 4 - Integrate and Stabilize
Once you have released the tight side and activated the weak side, you need to teach the body to hold the corrected position during movement.
Walking with Awareness - After completing the corrective sequence, walk for two to three minutes while focusing on keeping your weight even on both feet. The body will naturally try to return to its habitual pattern. Conscious walking immediately after correction helps encode the new pattern.
Single-Leg Stance - Stand on one leg for 30 seconds, focusing on keeping the pelvis level. The hip on the standing side should stabilize without hiking or dropping. This is both a test and a training exercise for pelvic stability.
How This Fits Into a Structured Program
These exercises work best when done in the sequence above, as a 15 to 20 minute daily routine. The release-activate-integrate order is not optional. Skipping the activation step after stretching is why most hip flexibility work does not produce lasting alignment change.
The Hip Alignment program walks through this full sequence with follow-along video, progressing the exercises as your alignment improves. If you also have significant anterior pelvic tilt (your lower back arches excessively), the Anterior Pelvic Tilt program addresses the front-to-back component.
For a starting assessment of where your alignment is breaking down, the free posture quiz identifies your primary pattern and recommends the right corrective starting point.
Timeline for Improvement
Hip alignment correction follows a predictable timeline when the exercises are done daily.
Week 1 to 2 - Reduced tension and stiffness. The tight side begins to release, and many people notice their standing position feels different, often described as "more even" or "less jammed." Pain that was present daily often decreases.
Week 3 to 4 - The activated muscles begin to hold. The corrected position starts to feel less effortful. People who had one-sided back pain or knee pain often see meaningful reduction by this point because the compensatory stress is decreasing.
Week 5 to 8 - Measurable change in pelvic symmetry. The mirror test shows improvement. Walking and standing feel more balanced. Downstream symptoms (knee pain, foot issues, IT band tightness) continue to improve as the loading pattern normalizes.
Month 3 to 4 - The corrected alignment becomes the default. The muscles that were weak are now strong enough to hold the pelvis in its neutral position without conscious effort. This is full correction, and it is sustainable because the underlying muscle balance has genuinely changed.
The key variable is consistency. Doing the sequence three times a week produces slow change. Doing it daily, for 15 to 20 minutes, produces change on the timeline above. The hip did not shift overnight, and it will not correct overnight, but it absolutely does correct when you give the body the right input consistently.
The Bottom Line
Hip misalignment is not a skeletal problem in the vast majority of adults. It is a muscle balance problem. The muscles that control the position of the pelvis have become imbalanced through sitting patterns, one-sided activities, and compensation for old injuries.
Correcting it does not require adjustments, injections, or surgery. It requires identifying which muscles are tight and which are weak, then systematically releasing the tight side and activating the weak side until the pelvis returns to neutral and stays there.
The hips are the foundation of your posture. When the foundation is level, the spine aligns, the knees track correctly, the feet load evenly, and a surprising number of chronic pain patterns resolve. Start with the foundation and let the rest follow.

Mike
Corrective Exercise Specialist · Posture Guy Mike
Mike Boshnack grew up skateboarding and surfing, trained MMA, and rode road bikes competitively. A shoulder injury put him on a path to discover corrective exercise. He has since helped thousands of people fix the structural patterns causing their pain, without surgery or passive treatments.
Keep Reading
Related Conditions
Related Programs
Free tool
See where your posture stands right now.
Upload a photo and get an instant AI-powered posture analysis with personalized recommendations. Free, no account required.
Try the Free Posture CheckTake the next step
Fix the structural root cause, not just the symptom.
Mike's programs apply this corrective method to your specific condition. No gym, no equipment. Just a floor and 15 minutes. Buy once, own forever.
Discussion
Discussion is a Pro member feature. Visit the community for more.