Cervical Retraction
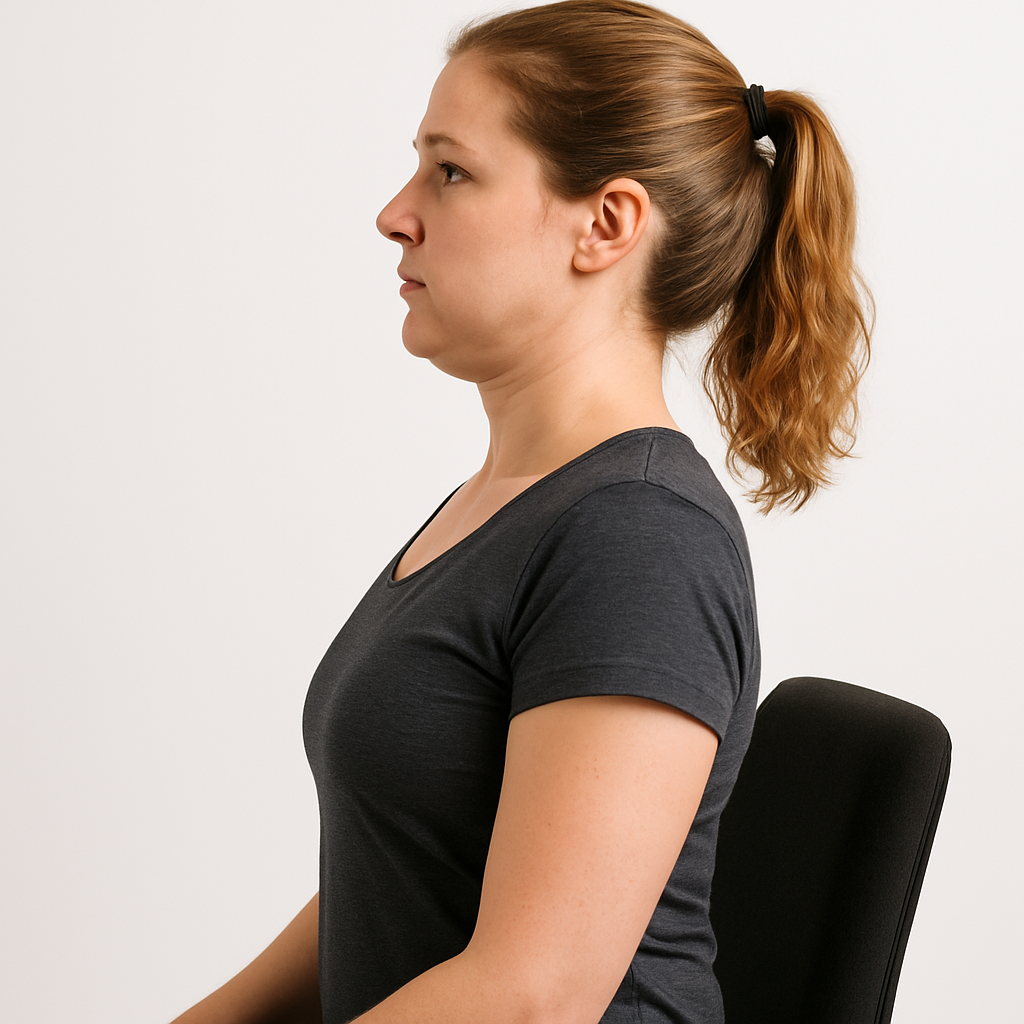
Starting from a neutral seated or standing position, you glide your head straight back — not tilting — to bring the ear directly over the shoulder and the cervical spine into its natural lordosis. This exercise directly counters forward head posture by reactivating the deep cervical flexors and gently mobilizing the facet joints.
How to do it
- 1
1. Sit or stand with your shoulders relaxed and spine in a neutral position, eyes looking straight ahead.
- 2
2. Without tilting your chin up or down, glide your head straight backward as if creating a double chin.
- 3
3. Move slowly until your ear aligns directly over your shoulder and you feel a gentle stretch in the back of your neck.
- 4
4. Hold this retracted position briefly, maintaining neutral eye gaze throughout.
- 5
5. Slowly return your head to the starting position with control.
- 6
6. Repeat for the prescribed number of repetitions at a steady, controlled pace.
Benefits
- Directly counteracts forward head posture by realigning the cervical spine into its natural curve.
- Reactivates deep cervical flexor muscles, improving neck stability and reducing strain on upper trapezius.
- Alleviates neck and shoulder tension by mobilizing cervical facet joints and reducing compression.
Common mistakes
- Tilting the chin up or down instead of moving the head straight back—keep your gaze level throughout.
- Moving too quickly or with jerky motions, which reduces muscle engagement and increases injury risk.
- Over-retracting or forcing excessive range of motion, causing discomfort rather than therapeutic benefit.
Target areas
Good for
Used in these programs
Get the full guided program, with video walkthroughs for every exercise.
Find Your ProgramBrowse all programs →